Action: Send a Message to RocketChat
In Cloudhouse Guardian (Guardian), you can configure actions to occur after certain events take place. For example, with a RocketChat integration, you could trigger a message to be sent to RocketChat in the event of a failed scan. You can configure this as an Action that automatically sends a RocketChat message every time a scan fails in your Guardian instance.
Note: The following process assumes you have a RocketChat integration already configured in Guardian. For more information, see RocketChat Integration.
Tip: For an overview of actions in Guardian, including more options available to choose from, see Actions.
Action Settings
When configuring a Send a Message to RocketChat action, the following settings are presented:
| Setting | Description |
|---|---|
| Action Name field | A unique name for the action. This name is how you will identify this action among all others configured in your Guardian instance, so ensure it is descriptive. For example, 'New Policy Failure Message' and not simply 'Send a Message'. |
| RocketChat Integration drop-down |
A list of all RocketChat integrations configured in your Guardian instance. When configuring a RocketChat integration, you designate a specific RocketChat channel for that integration. From the drop-down list, select the RocketChat channel where you want your messages to be sent. |
| Message field |
The content to include in messages sent by this action. To make your messages dynamic, you can include variables in this field. Variables are pieces of text that Guardian will replace with relevant data. For example, you could use the variable |
These settings are configured when adding a new action, and they can also be edited at any time through the Actions tab ( ) and select Edit. Once you have made your edits, click Done to save them.
Add a Send a Message to RocketChat Action
You can add a new Send a Message to RocketChat action from any saved view in your Guardian instance. Each saved view represents a specific event determined using a query on the Events page. The saved view you select during this configuration determines the corresponding event that triggers your new action. For more information, see Saved Views.
To add a Send a Message to RocketChat action, complete the following process:
Tip: For help completing any of the following fields, refer to their respective descriptions in the Action Settings table above.
-
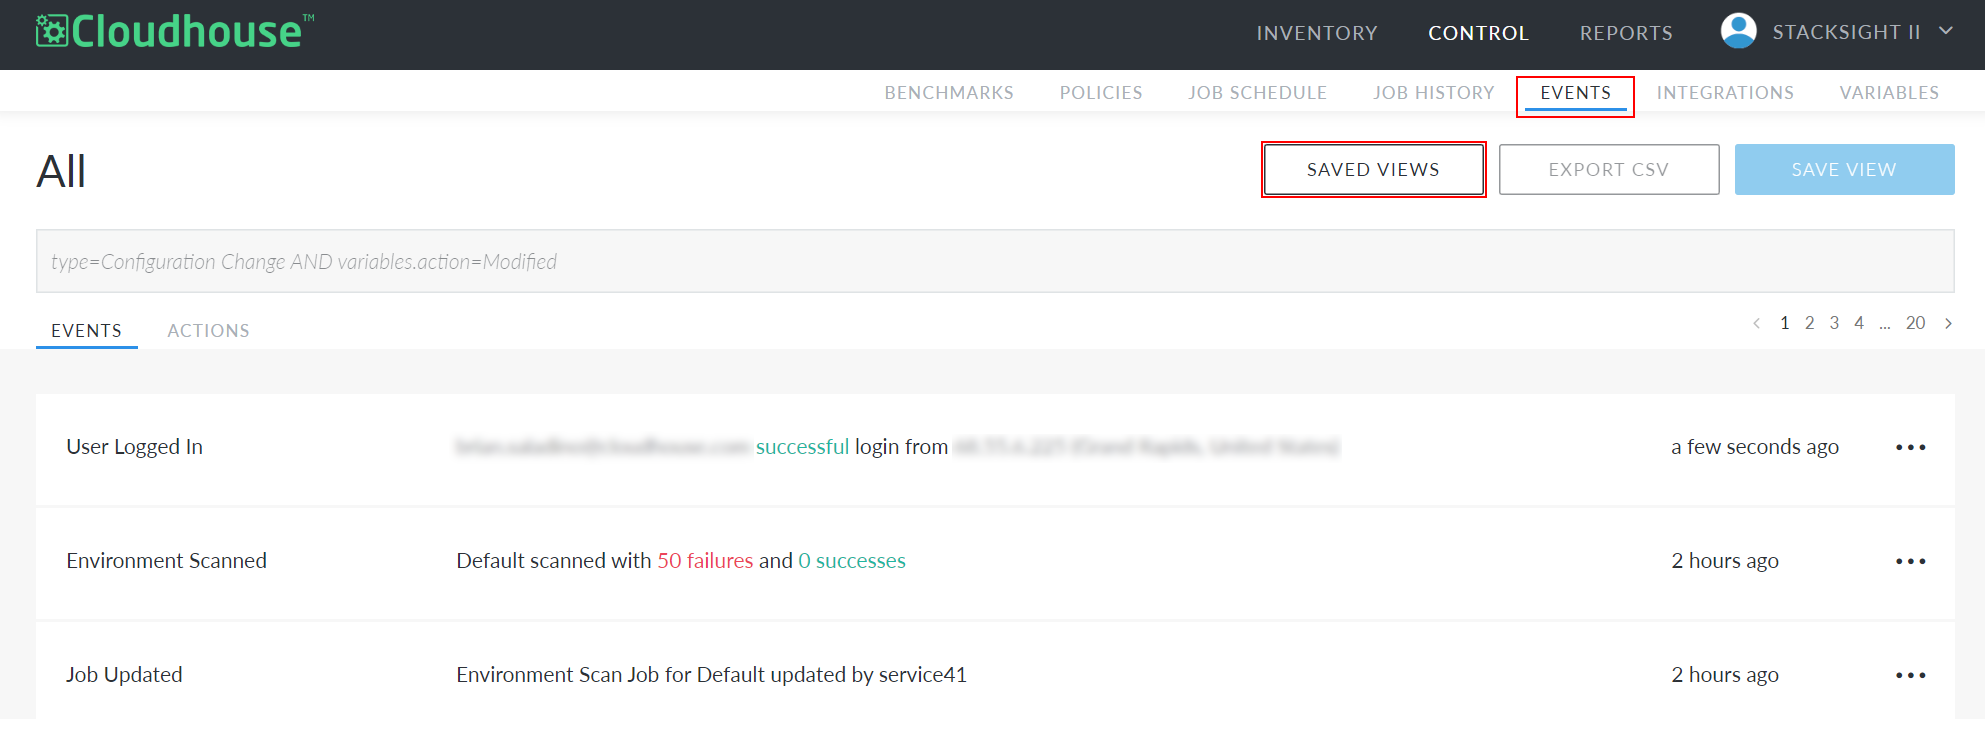
Navigate to the Events tab (Control > Events).
-
Click the Saved Views button at the top of the page. The Saved Views side panel is displayed.
-
Select the event you want to trigger your new action. The saved view for that event is displayed.
-
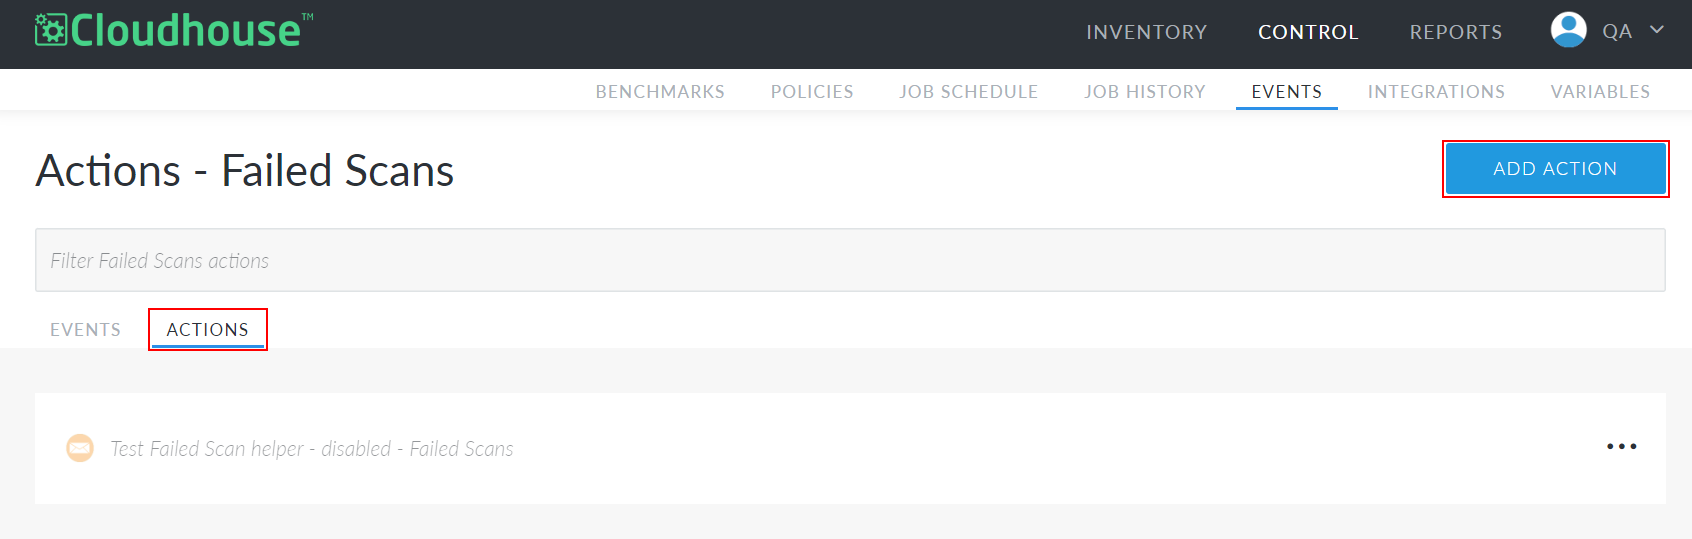
Click the Actions tab to display all existing actions configured for this event.
-
Click the Add Action button. The Add New Action page is displayed.
-
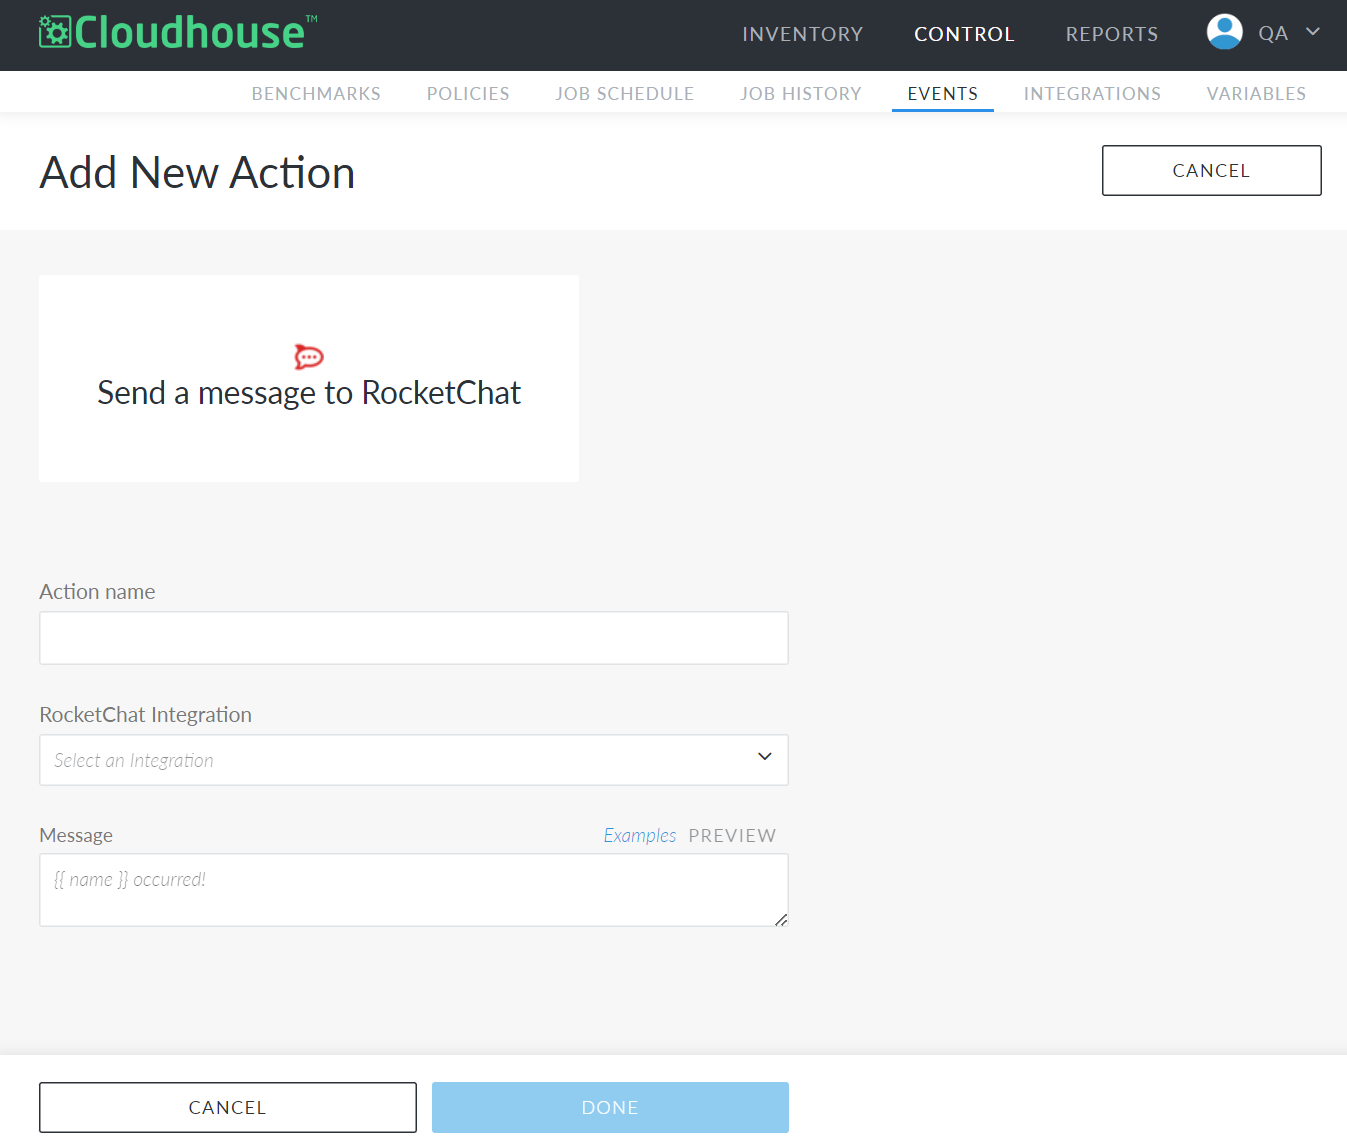
Click Send a Message to RocketChat. The required fields are displayed.
-
Enter an Action Name.
-
Select an integration from the RocketChat Integration drop-down.
-
Enter a Message.
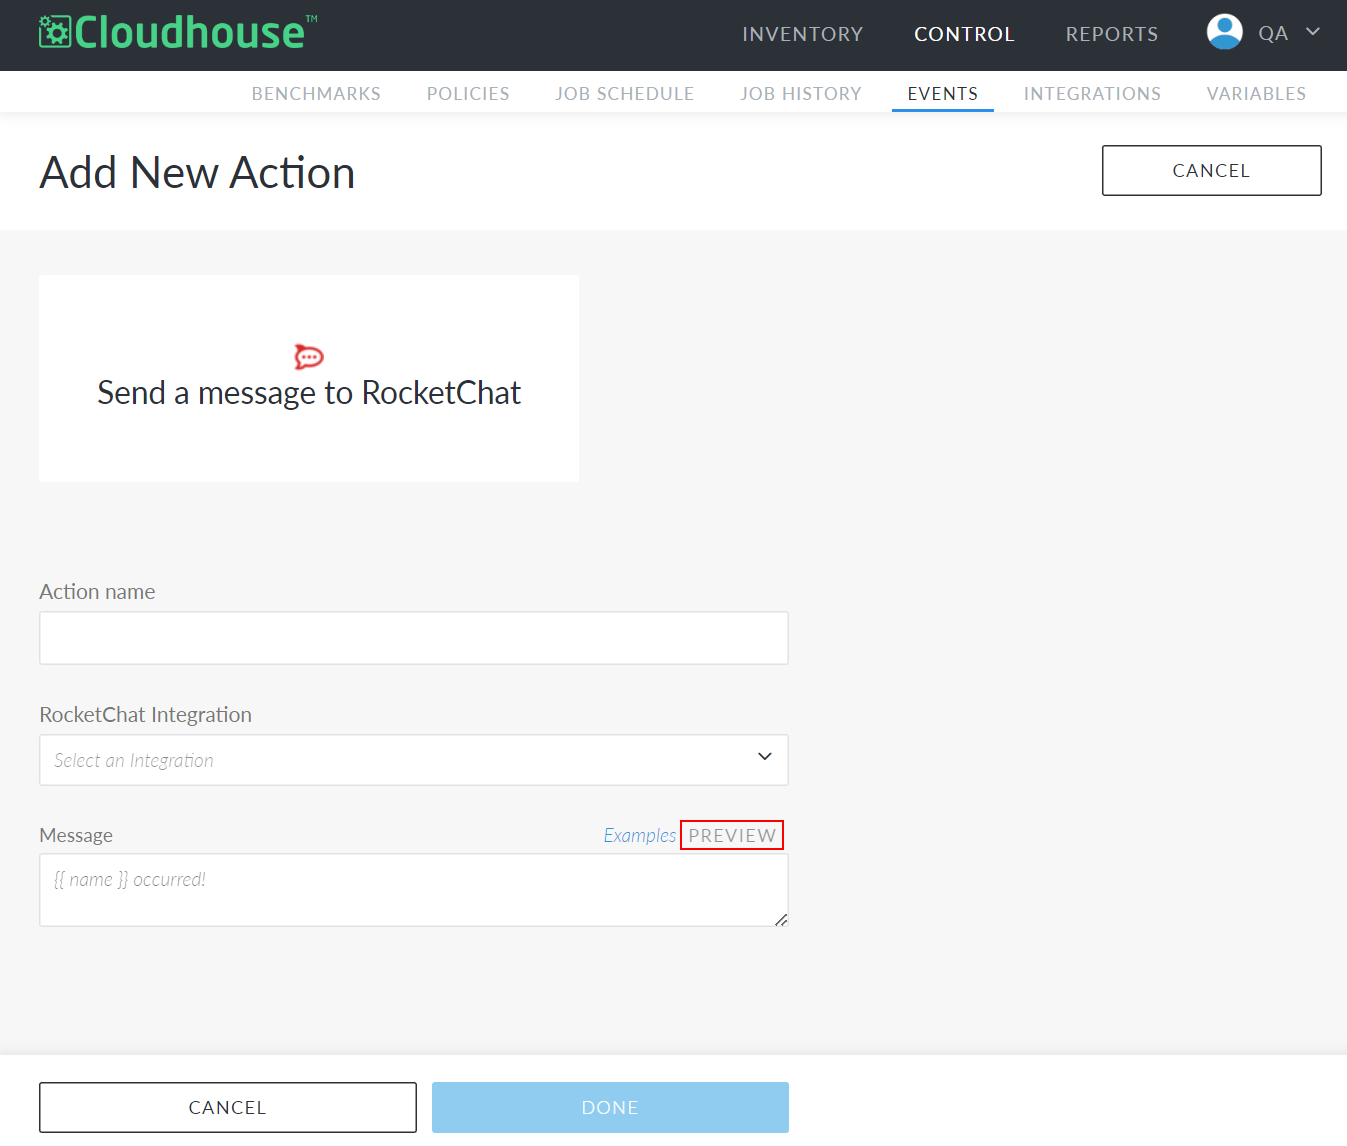
Tip: Once you have entered a message, you can view a preview of the message that will be sent as part of this action. You can use this preview to test any variables you may have used. To view a sample message, click Preview.
-
Click Done.
Now, a confirmation dialog is displayed and you are redirected to the Actions tab for your selected saved view. Here, you can view your new action. To disable, edit, or test the action, click the Ellipsis () and select the appropriate option.